
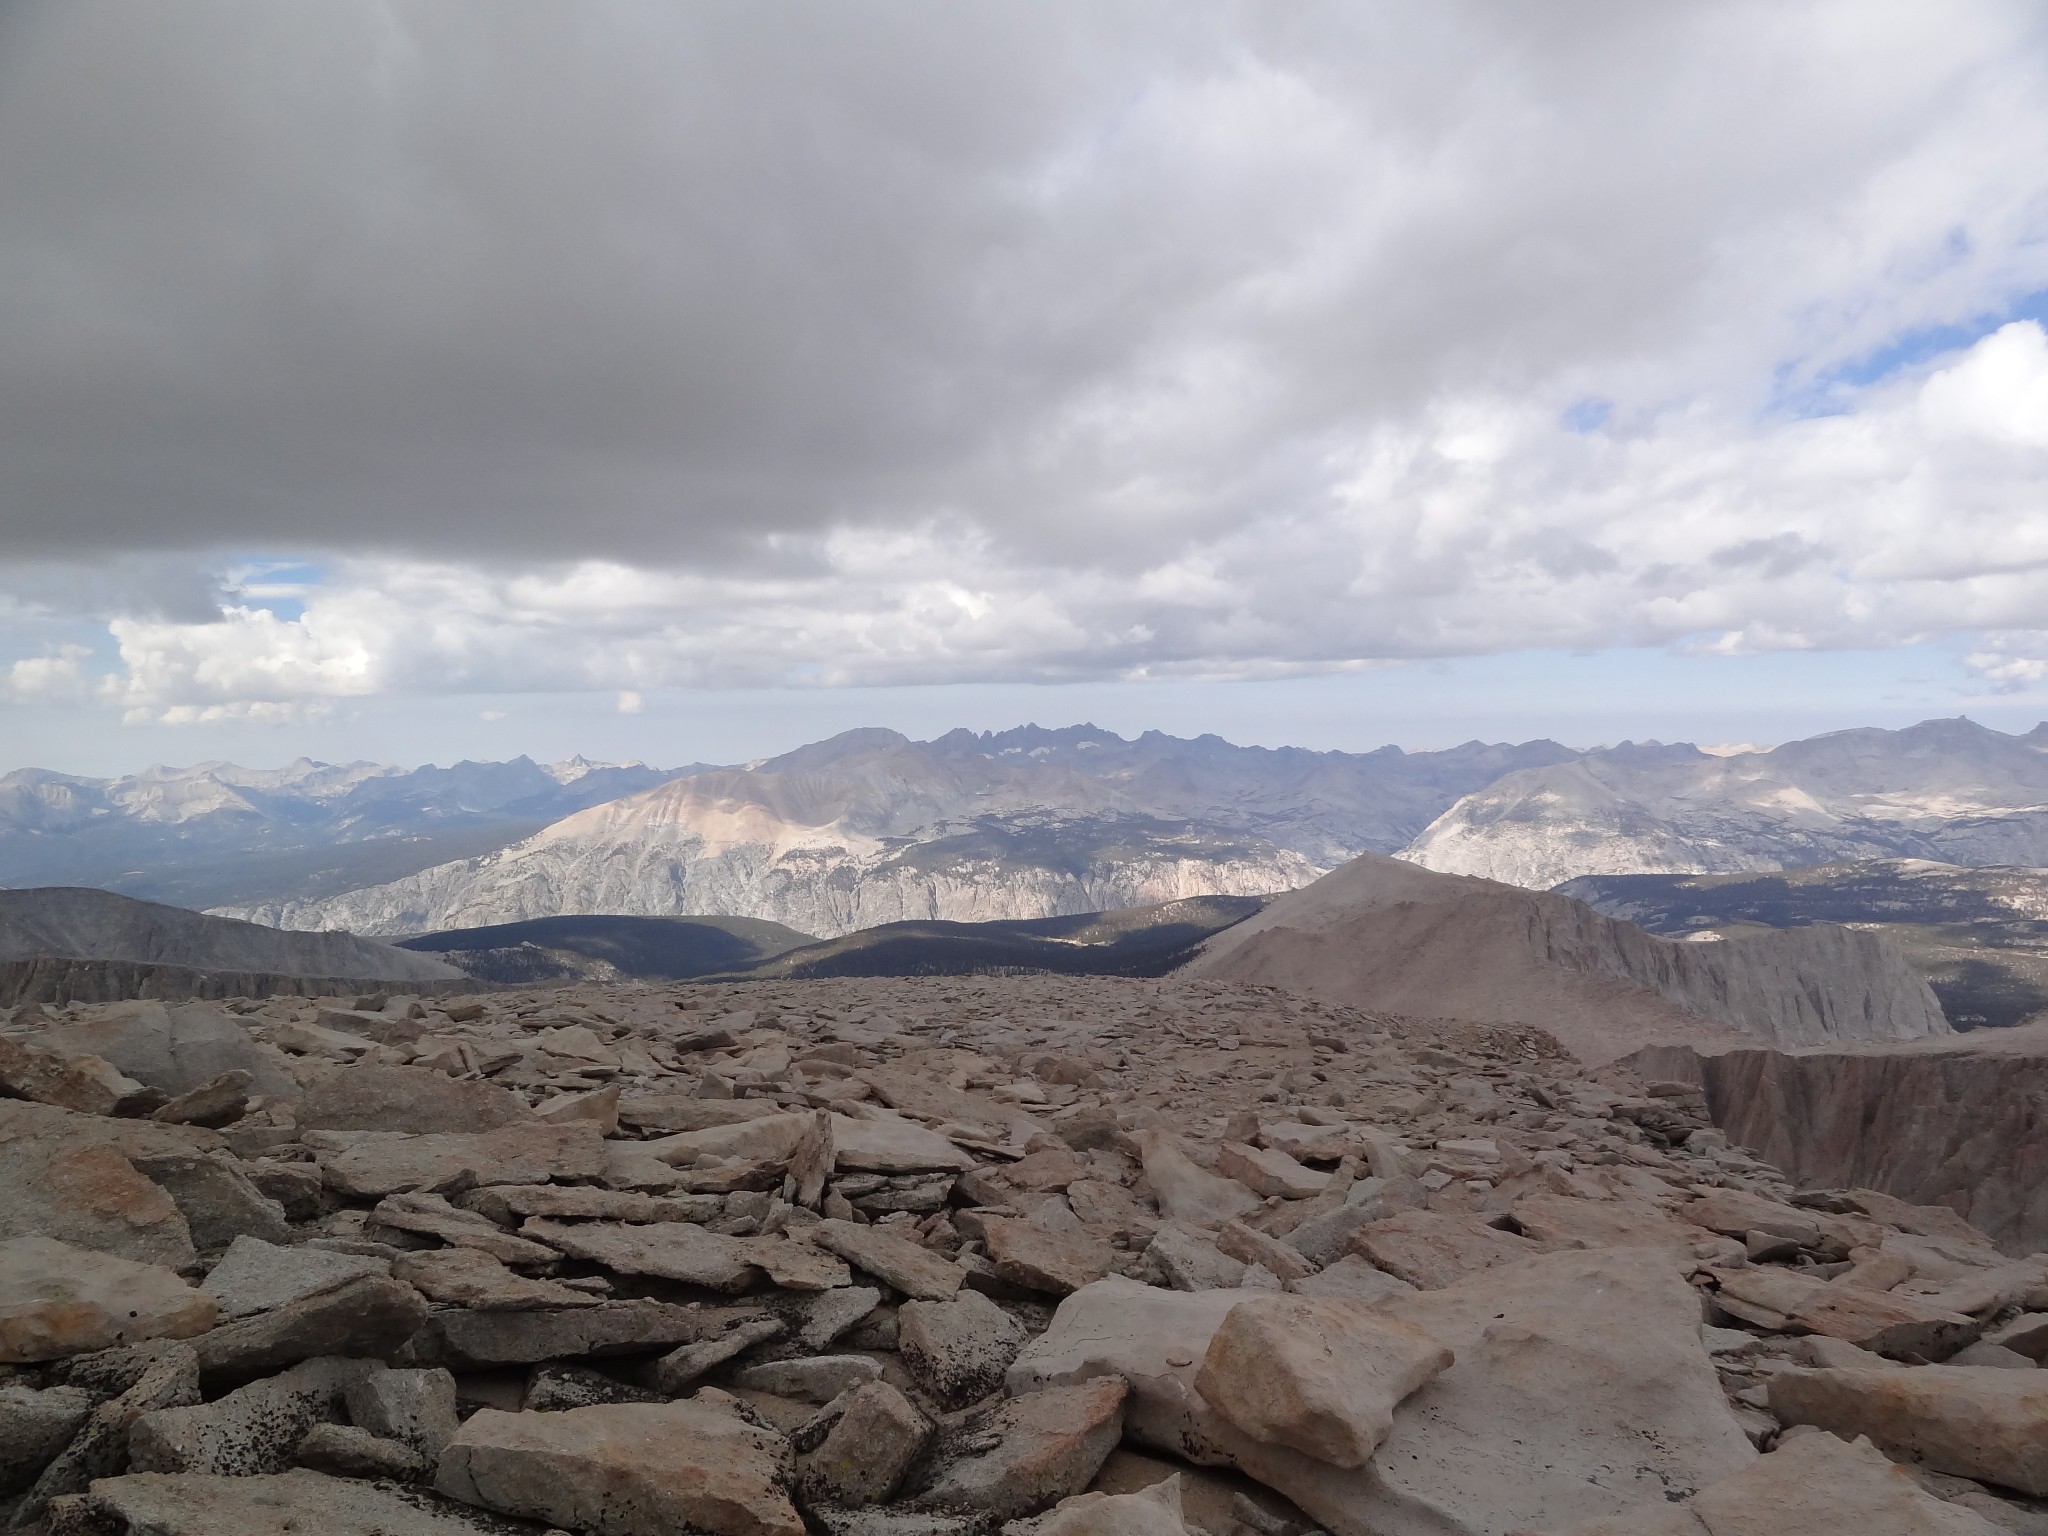
Well, here I am on the summit of Mt. Whitney on a hike done in September 2012 via the Mountaineer’s Route. Unfortunately, given the oncoming clouds, we only had a minute or two to savor the accomplishment before we had begin the descent, but what a fun adventure!
So, a little backstory here: In August, I had been dating a girl that I was beginning to like, and then suddenly she stopped calling me and only after probably too many texts on my part, she finally had the courage to send me the ol’ fashioned breakup text. Woe is me, right? I had to do something, so I looked online for a guided climb of Mt. Whitney (the tallest peak in the lower 48, oh yeah!). There didn’t seem to be one going around Labor Day when I was going to have a chance to take a trip, so I shot some guiding companies some emails.
I contacted SWS Mountain Guides to see if I could get on a waitlist or if they had a guided hike going on around Labor Day (check them out here, they also do many other guided climbs and I think I’m going to do Shasta 2013 Summer - they were great, so I do recommend them). One of the owners responded and said that they were putting a group together for around that time. Next thing I know, he calls me, I give my credit card, and I’m signed up. “Shit!,” I thought, “now I’m going to Mt. Whitney, and I’ve never climbed a mountain, and really haven’t done too much backpacking. I’m just a guy from the suburbs in Columbus, Ohio. How is this going to go?” Fortunately, I had been doing some training for an upcoming half-marathon, so I wasn’t completely out of shape. But, still only 5 weeks to get ready. I stepped up my running and started backpacking with 30 lbs at the various parks around Columbus.
I started to get a sharp pain in the ball of my foot from probably over-training. I suspect either Sesamoiditis or Metatarsalgia, but the podiatrist didn’t give me a diagnosis. Had an X-ray to eliminate whether or not it was a stress fracture and would it derail my planned trip (it wasn’t). Which would have been a real bummer, as I was now looking forward to it quite a bit. The doctor made up a custom little orthotic and I ended up just taking it a little easier and the pain began to subside. So, I was good for the trip.
Lone Pine and the Portal
Flew out to LAX, rented a car, and drove out to Lone Pine. I stayed in the Whitney Portal Hostel for the night (if you do go out there, it’s a nice, cheap place to stay on your way up or out). I think I was the last one in for the night. Everyone in the room kept to themselves and I struck up a short conversation with what seemed to be a drifter type character. He seemed nice, but told stories that had more of a tall tale feel. Wasn’t sure about him, so I spooned with my bag.
Lone Pine is a tourist town, the main strip adorned with gift shops, restaurants, and bars. I’m not sure many people actually live in the town. I woke up early the next morning and walked across the street to the Mt. Whitney Restaurant for breakfast. It was good, standard breakfast fare.
I decided to do some driving around and see the area. So, I drove out to the Alabama Hills, which are right there. A lot of westerns were filmed in the area. The Alabama Hills definitely have a distinct look. They are these beautiful, reddish-brown, sandy rocks jutting out of the desert, grouped and piled up together.

The rest of the day, I spent mostly driving around and taking photographs of the scenery. I drove up to the Whitney Portal, checked it out. Drove down, back to town. Drove out to the main ranger station, picked up a map of the hiking routes and some post cards. Ate lunch in town at the local coffeeshop.
I drove over to the Cottonwood Lakes area, which was actually a scarier drive and I think it may have been somewhere around 10,000 feet. That drive seemed to take a while, both up and down. Part of my reasoning for heading up there, along with checking out the area and having nothing else to really do, was to hopefully give my body some chance to acclimate to the higher elevation, given that I have lived my entire life at about 900 feet.
In the late afternoon, I finally headed up to the Whitney Portal. I had planned on camping out at the portal in order to give myself a chance to acclimate. Individual campgrounds are right there, just off the parking lot and I think they’re about $5 or $10 for the night. There was really no one else around, so I had my pick of camping spots. So, I set up my tent and everything and took it easy for a little bit. Now, one thing I didn’t realize that I should have done (and I’m claiming ignorance here) is that your tent should be tied down to rocks. This is due to, what I believe, the fact that the ground is mostly rocky, not hardened dirt, and it can also be quite windy at the higher altitudes. There was a pile of rocks near the site and I looked at them somewhat bewildered, thinking that perhaps you put them on or in your tent to hold it down. I put a few rocks in the tent and on the corners. But, I think what you want to do is you want to tie some guy lines from your tent to the rocks to hold them down.

So, anyways, I headed off to dinner at the Portal Store. The Portal Store is right at the start of the Whitney Trail. It’s a little shop for last minute supplies and it’s got a kitchen that serves gigantic burgers for lunch. Although I didn’t have breakfast, I believe they also make these huge, plate-sized pancakes. It’s a great stop after a long day of hiking or in my case of driving the twisting roads of the Sierras. So, I had a giant burger and fries. I tried to sit down, but was chased away by all the bees that were after my ketchup and I ended up inhaling my food in fear of an impending bee attack and got out of there.
I took it easy the rest of the evening and the weather was beautiful. I sat and read a book by a babbling brook near the campsite. It was great.

Day One - To Basecamp
Woke up early, packed up my tent, threw everything into my rented Kia Soul and headed back down to Lone Pine to meet the group and the guides. We met outside of the local outdoor gear shop right in the center of town called Elevation Sierra Essentials. It’s owned by a fellow named John, who ended up being one of our guides, and is a truly kind, knowledgeable person. If you end up needing any gear before a Whitney hike, this is the place to stop into.
We did a gear check with the guides, Tim and John, making sure we had everything we needed and if not we could just buy it next door. The group consisted of six hikers plus two guides. There was a father and son (Gabe and Michael), two old friends (John and Joann), a single hiker (Esther), and myself. So, we repacked our stuff, found parking for our cars, and we drove up to the portal to begin hiking.
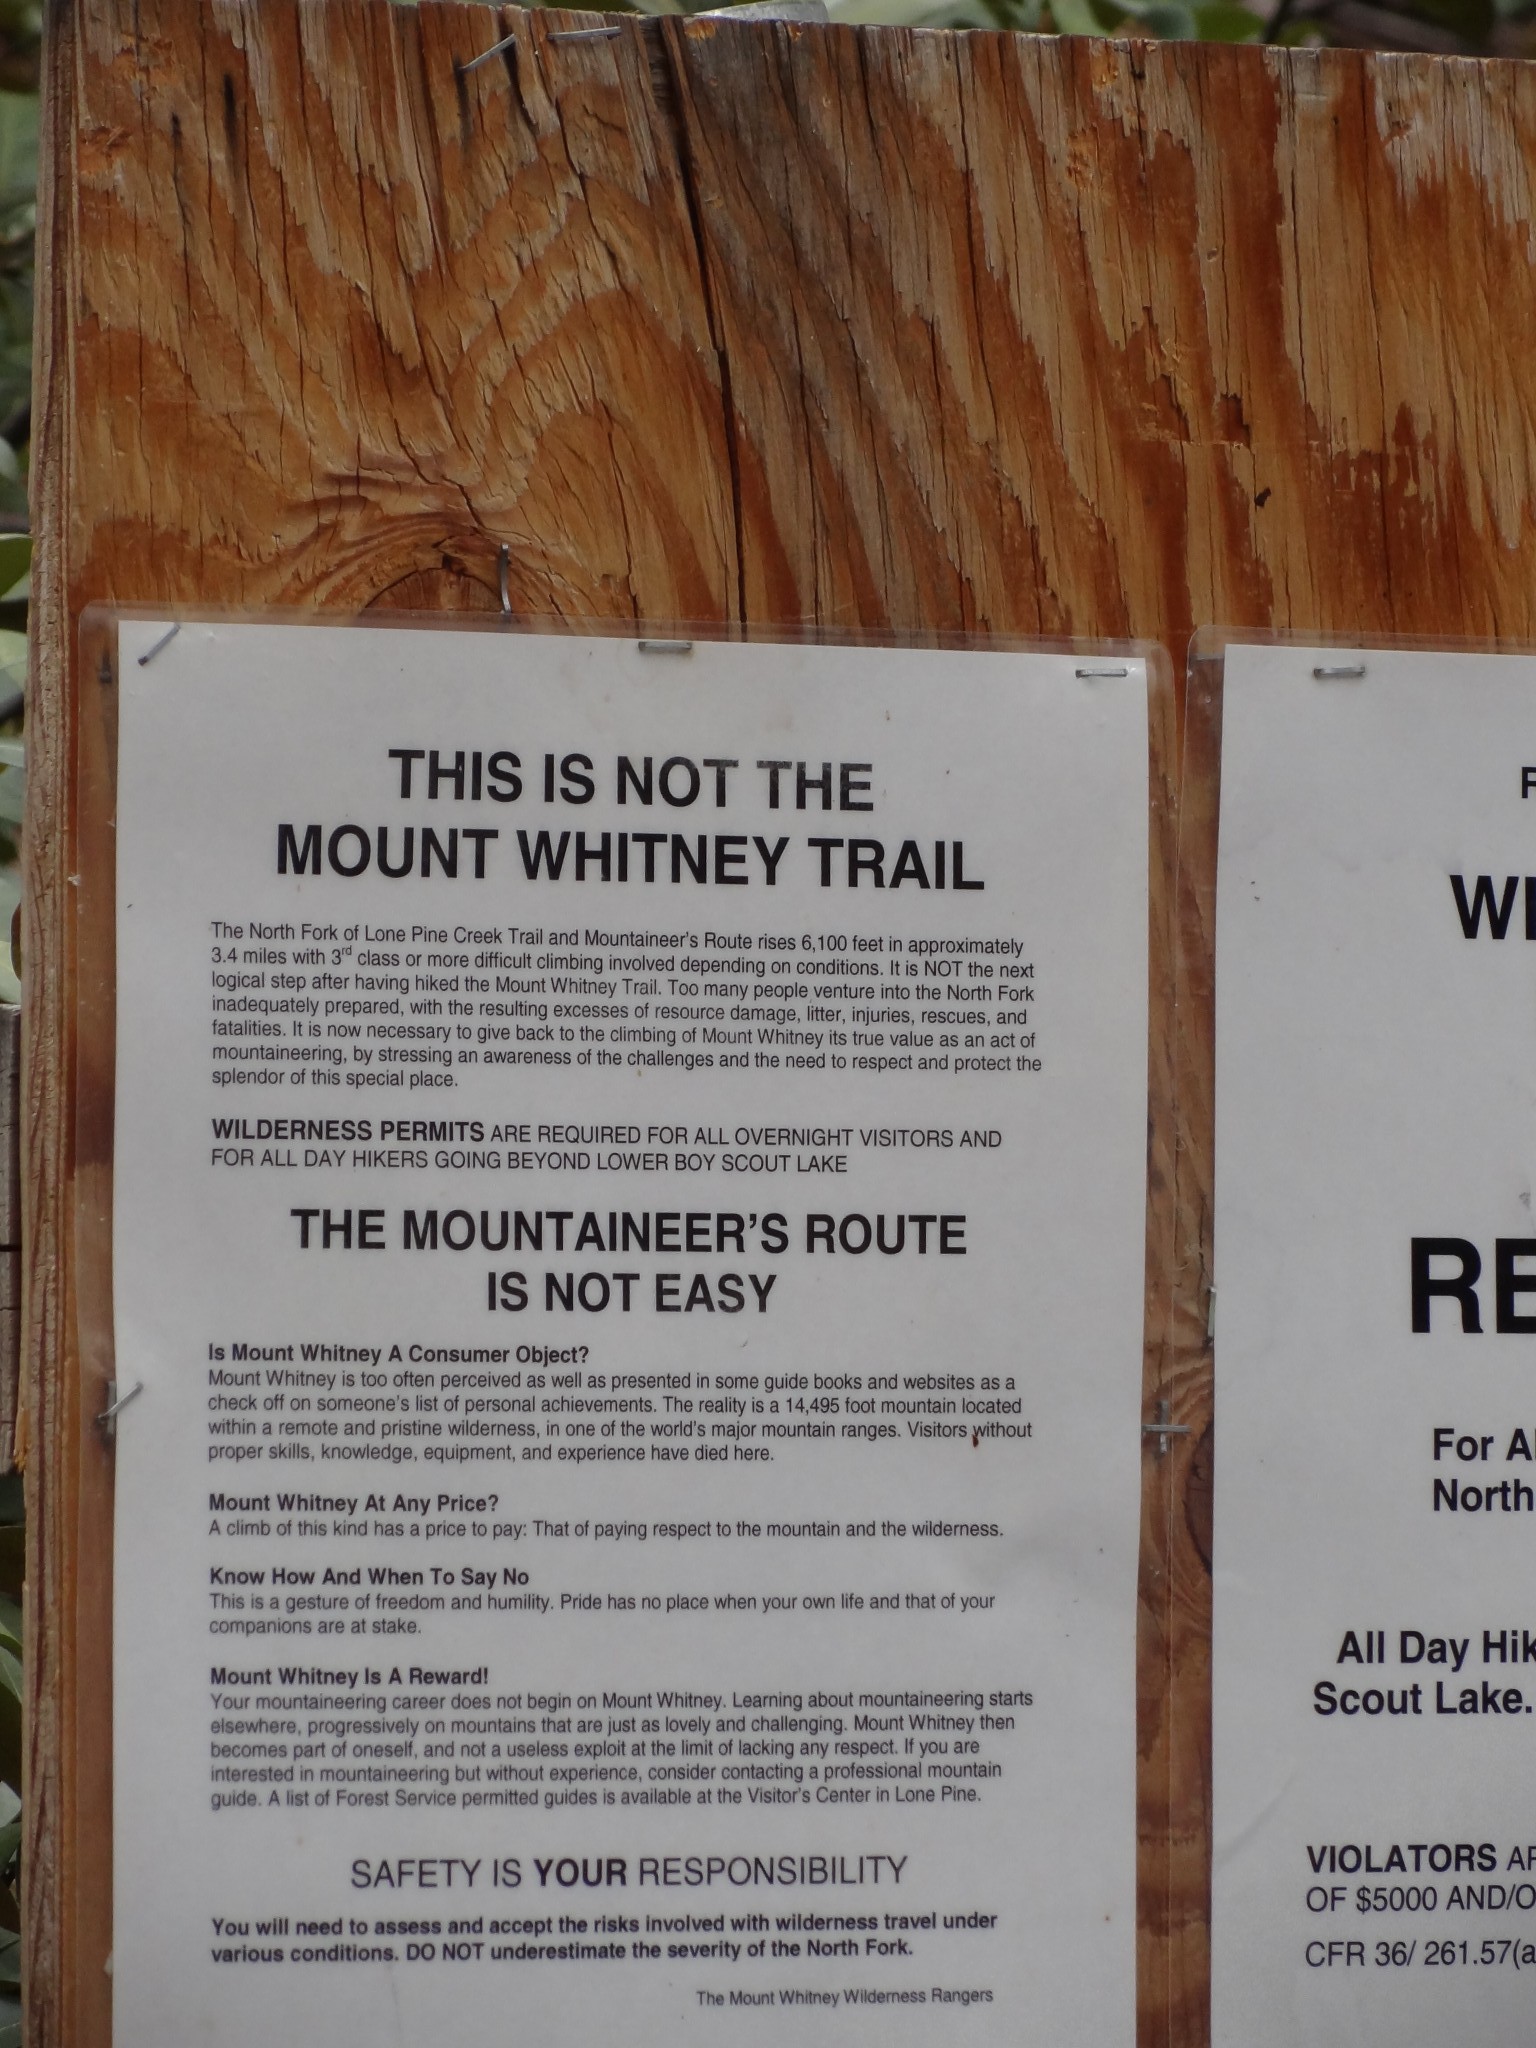
We started on the Whitney trail for only a little bit until the the Mountaineer’s Route breaks off. What makes it a route and not a trail is that it isn’t explicitly marked. You can take anyway to get there, it’s more of a guidance.
So, once you break from the Whitney Trail, it almost immediately becomes more steep and some bouldering is involved. At this point, one of the hikers, John (who I believe may have had a bad knee) decided to head back. He was out for the trip.
The hiking early on isn’t too bad, over some creeks and rocks, but as to be expected from a mountain climb, it is consistently steep. So, one technique that you want to utilize as much as possible is the mountaineer’s rest step. It’s essential for mountaineering. Basically: 1) you take one step forward, allowing your back leg knee to lock, keeping the weight on the back knee; 2) you then shift your weight to the front leg and step up with the back leg, keeping weight off the stepping leg, then locking the knee of the rear leg (back to step one). This allows you to take tiny rests as you are climbing. It also slows you down a little bit and as things get steeper, the amount of steps taken may slow down.
There was some minor bouldering and climbing over rocks, but nothing of note until you come upon the Ebersbacher Ledges.
Ebersbacher Ledges
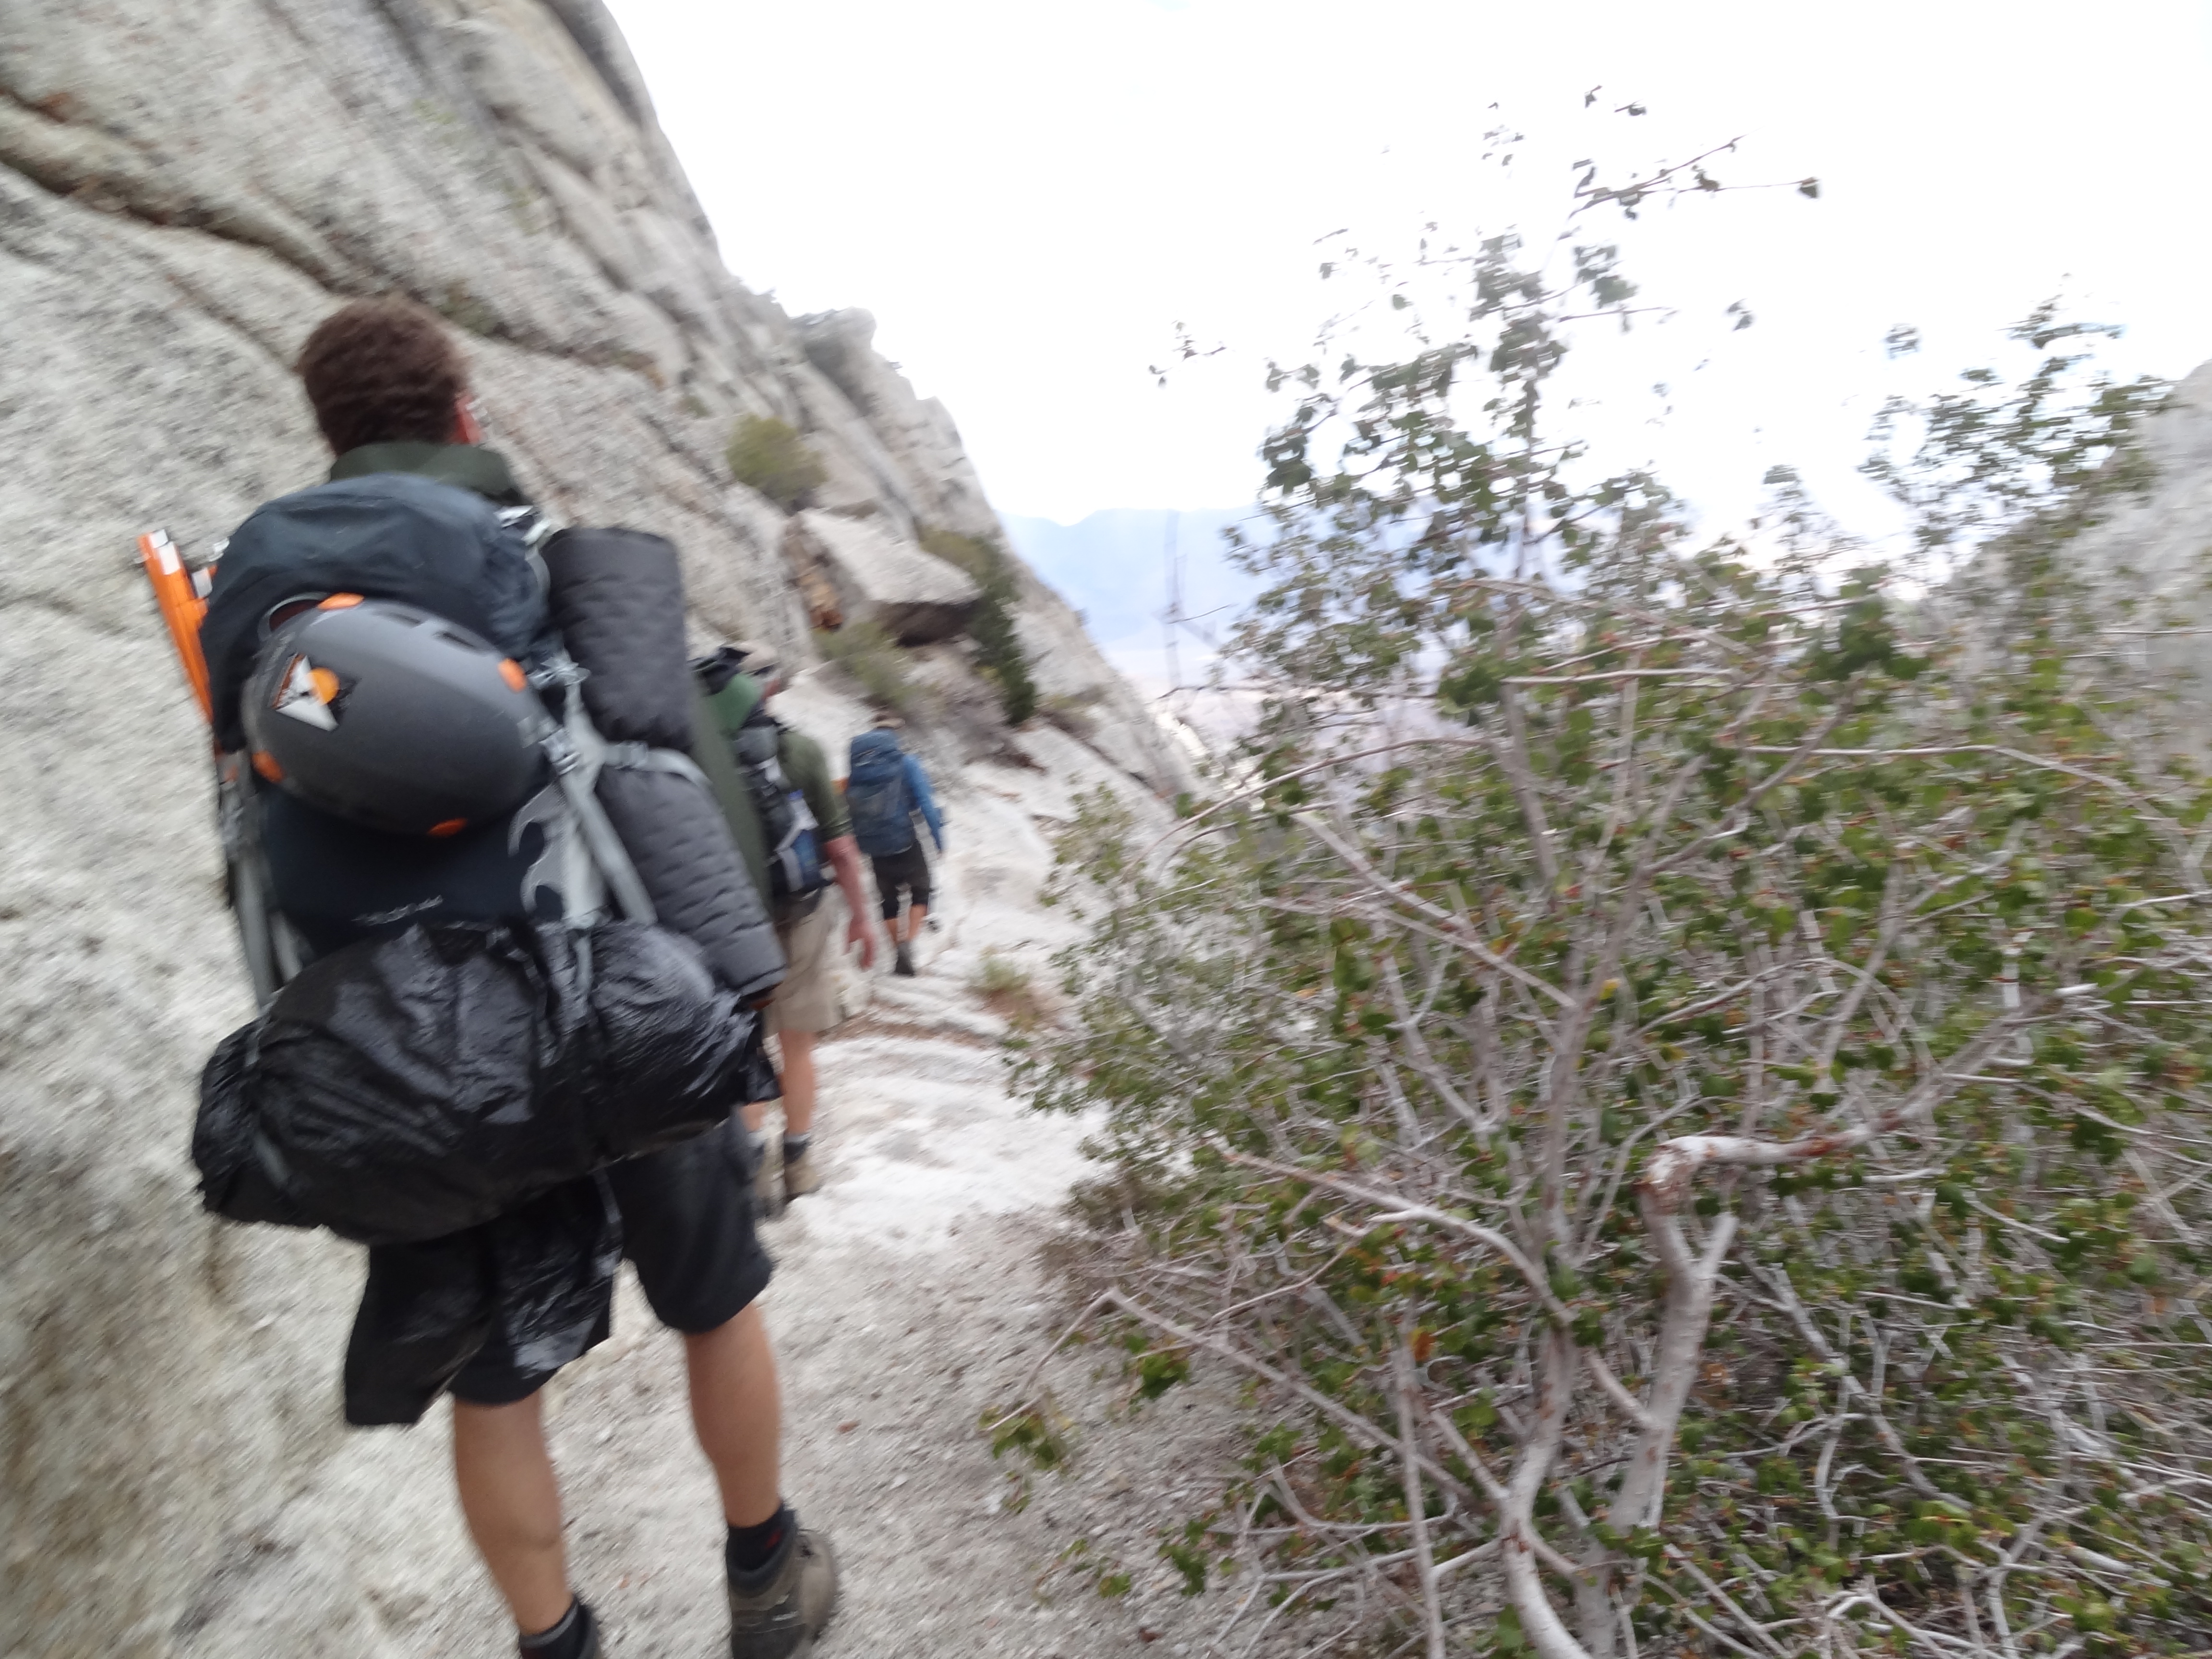
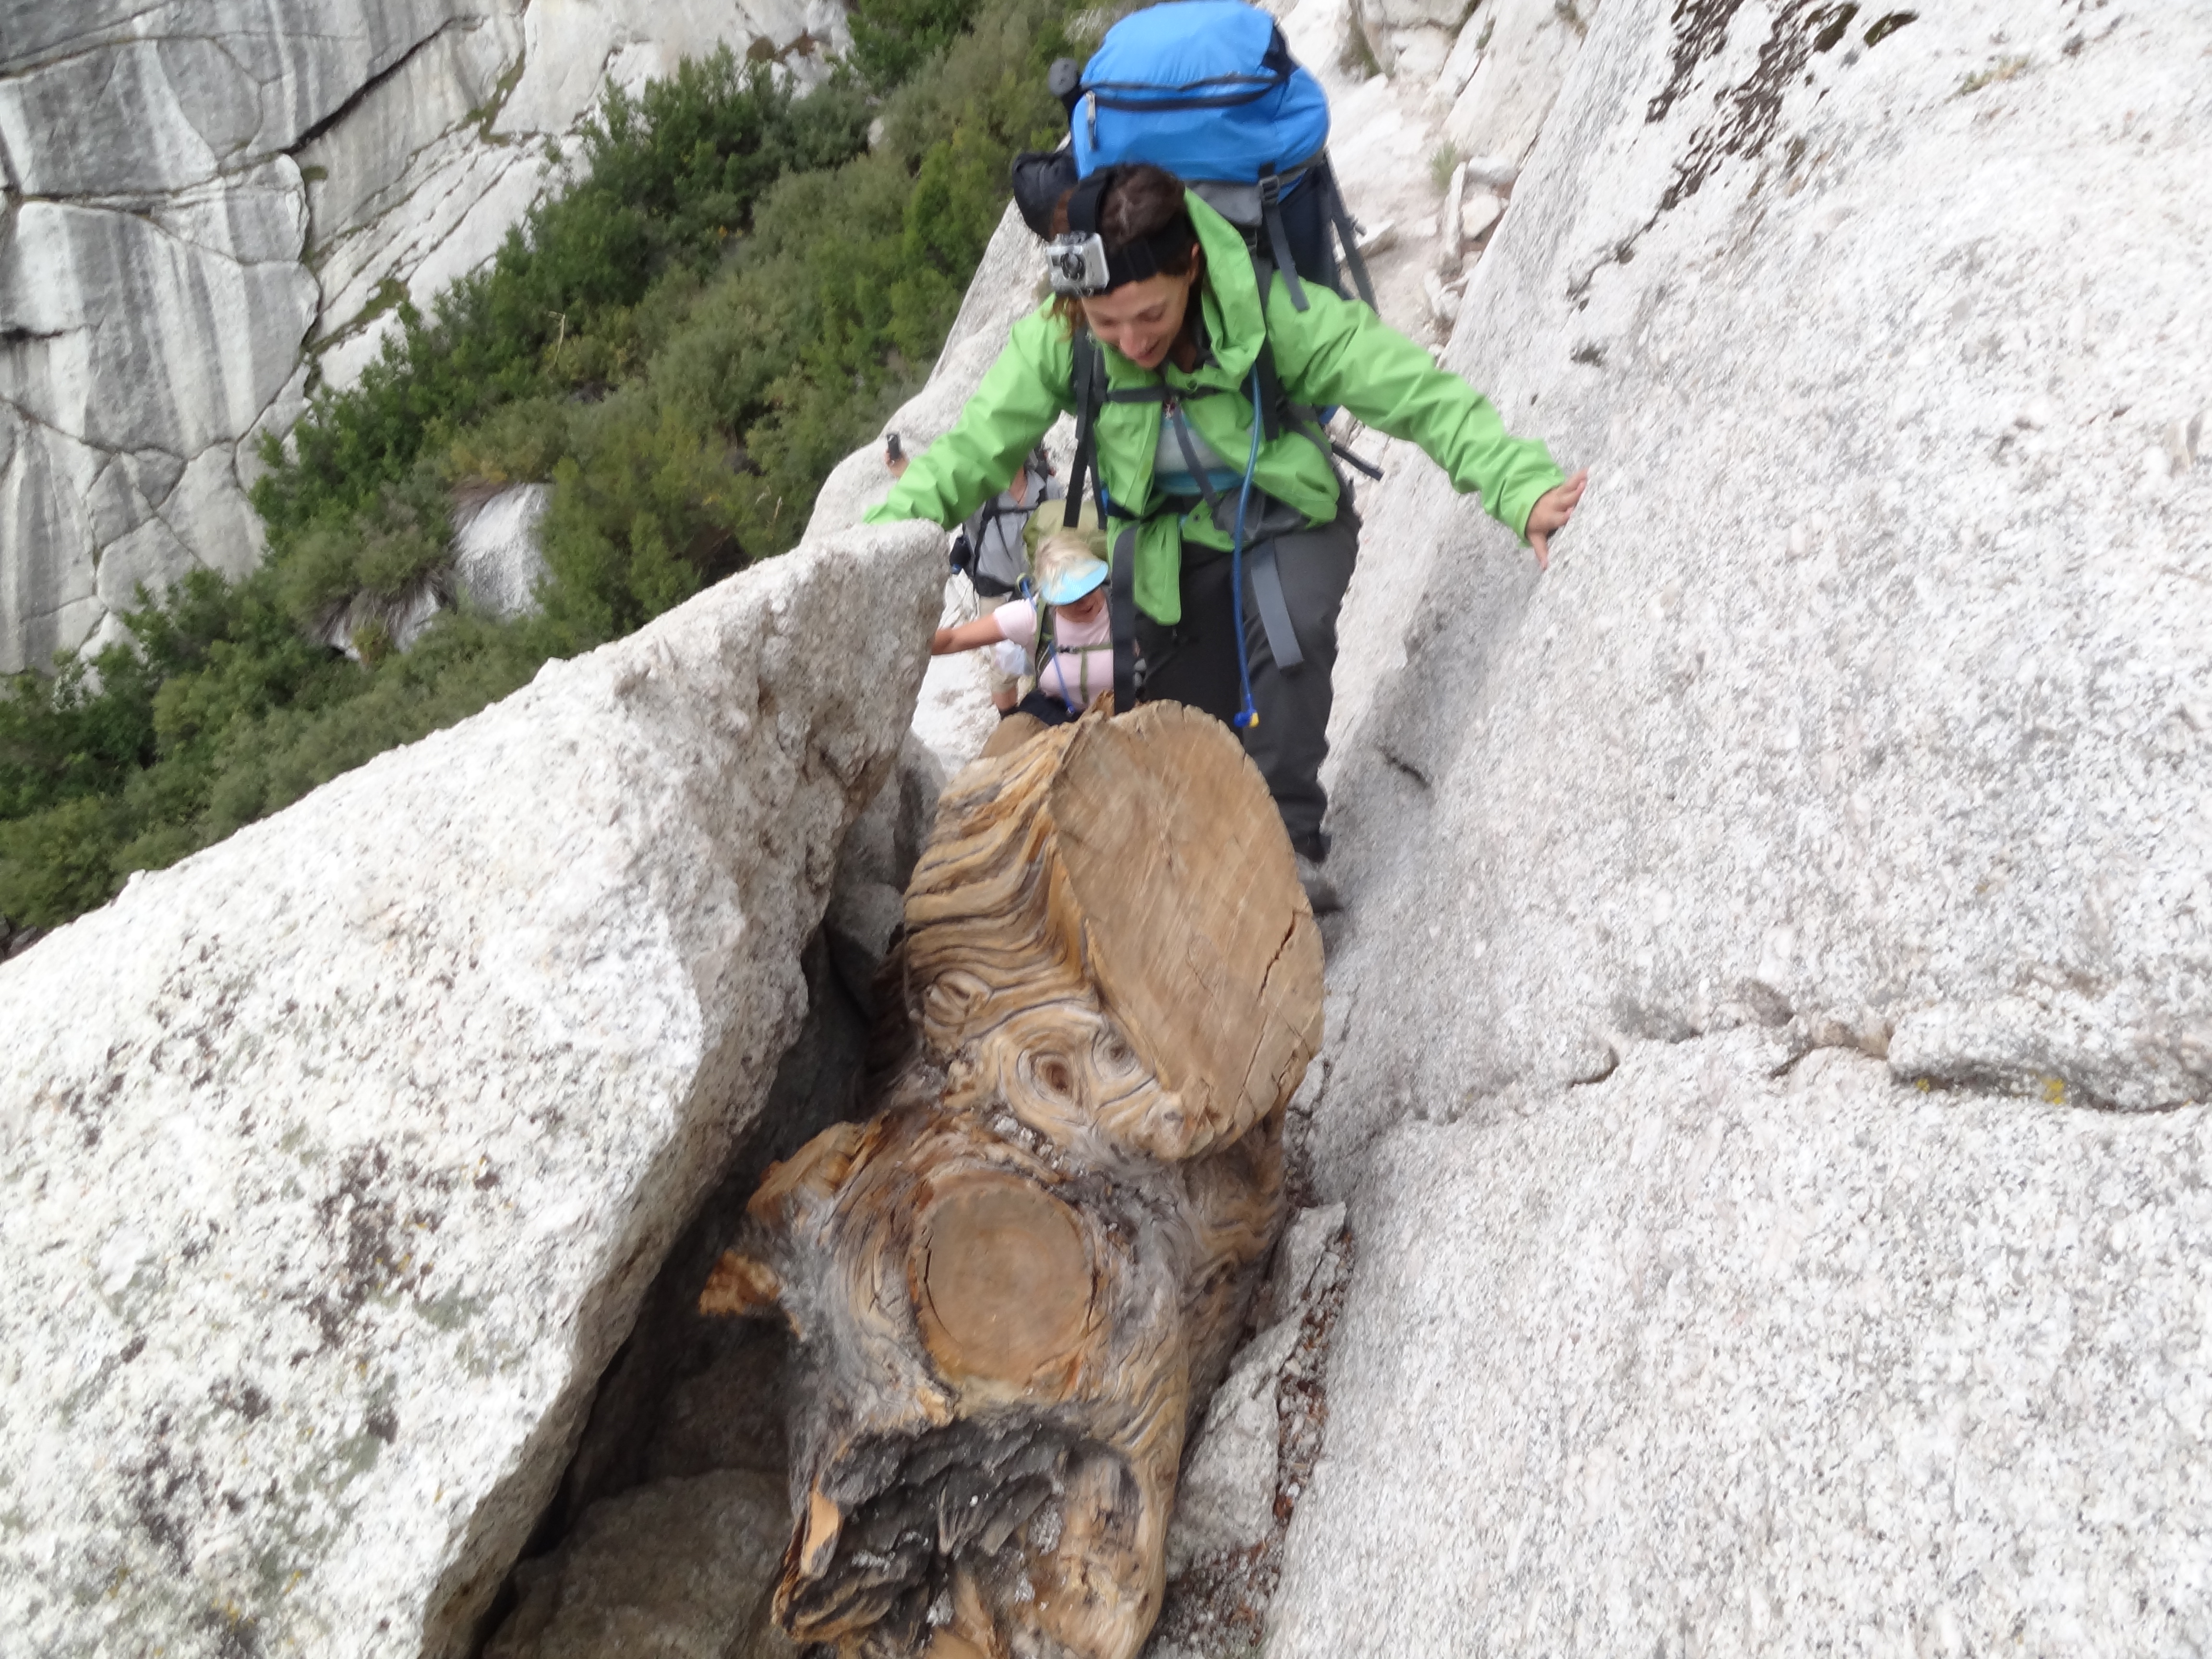
The Ebersbacher Ledges consist of a quick traverse that is exposed and then climbing of a series of a few accessible ledges until you are clear. The difficulty with the ledges is primarily that of exposure. It’s not serious climbing, it’s simply that a serious loss of balance would end badly. I also think part of it is a bit of a self-fulfilling prophecy. Everyone says they’re tricky and frightening, so they become that way. So, they’re not difficult to climb in a technical, they’re just difficult in the face of exposure. The key, obviously, is steadiness.
One thing to note is that, you do need to know where to go up, as from some stories John was telling me, there have been hikers who have continued across the face and realized that they had passed the ledges to get up and then had gotten either stuck in a bad place or had to backtrack.
So, getting the Ebersbacher Ledges, we then proceeded across the traverse one-by-one and then up the ledges. One of the hikers got a little spooked, and I felt the same way, so one of the guides coaxed each of us across the traverse to the ledges. It was then up the ledges, hike across a tree, and then up a few more and we were done.
We then continued to hike up to Lower Boy Scout Lake. Unfortunately during the hike it began raining, so on came the rain coats and pants, and with it still being quite warm, it was a bit uncomfortable. We got to Lower Boy Scout Lake for lunch and fortunately found a bit of cover to sit and relax as it had begun raining much harder at this point. Lower Boy Scout Lake lies at about 10,300 feet and is still mostly within the tree line. It’s a beautiful spot to sit and relax after a morning’s vigorous hike.
I downed a couple of Clif bars (which by the end of the hike I was thoroughly tired of eating. It’s sort of like Champagne, if you have too much you’re going to swear it off for good. That’s me and the peanut butter flavored Clif bars, I just had too many that week) and off we went. Up the mountain, over some water run offs, it can get a little slick, so footing continues to be key and a good pair of hiking poles are nice to have. We climbed another 1,000 feet or so, to our base camp at Upper Boy Scout Lake (~11,300 feet).
A tent had already been setup prior to our arrival, most likely from a previous guided climb, and staked out a great spot on the rocks. So, we set up two more tents, dried our stuff off a bit and made a few phone calls (yes, there is cell phone reception up there, wow!?!). Upper Boy Scout Lake is a good spot to camp on this hike, although if you do want to go further, you can make it to Iceberg Lake in time if your pace is good.
John then took us out and gave us a tutorial on rope climbing and belaying basics with a group of climbers. We came back, ate some noodles for dinner, and went to bed as the plan was to get up early (2 or 3 am) for the hike to the summit. The sky was clear that night, so I took some time to lay out on a rock and stare up at the stars. Wonderful.
To setup a tent where there is no good clay to hold stakes, the best way is to guy line the tent to heavy rocks. It’s also quite windy on Mt. Whitney, so it’s just a good idea. Here’s a quick tutorial on how to tie a taut line:
Day Two - Summit

We awoke at 3:30am, a little later than we wanted, tossed on our headlamps, threw on our packs, and headed up the trail to Iceberg Lake (~12,600 feet). The night prior, we unloaded most of the unneccessary stuff from our packs for the summit hike. I had asked Tim why it was that we didn’t need the smaller “Summit Packs” and the fact that they wanted us to carry our large packs and the reason he gave, was that the full packs are better at protecting your entire back should you fall back or hit a rock.
It was relatively cold in the early morning, so we warmed up quickly. Because of the late start, Tim, the main guide, pushed the pace a bit. It wasn’t too bad, but some of the folks in the group began slowing up. The hike wasn’t too bad, with a bit of rock scrambling, but nothing overly strenuous.
Not until we got to Iceberg Lake, did the climb begin to take on any real difficulty. This was where the true climb began. We arrived around 8am, rested and ate, before beginning the final ascent. Joann at this point began not feeling well and decided not to join us in the climb.
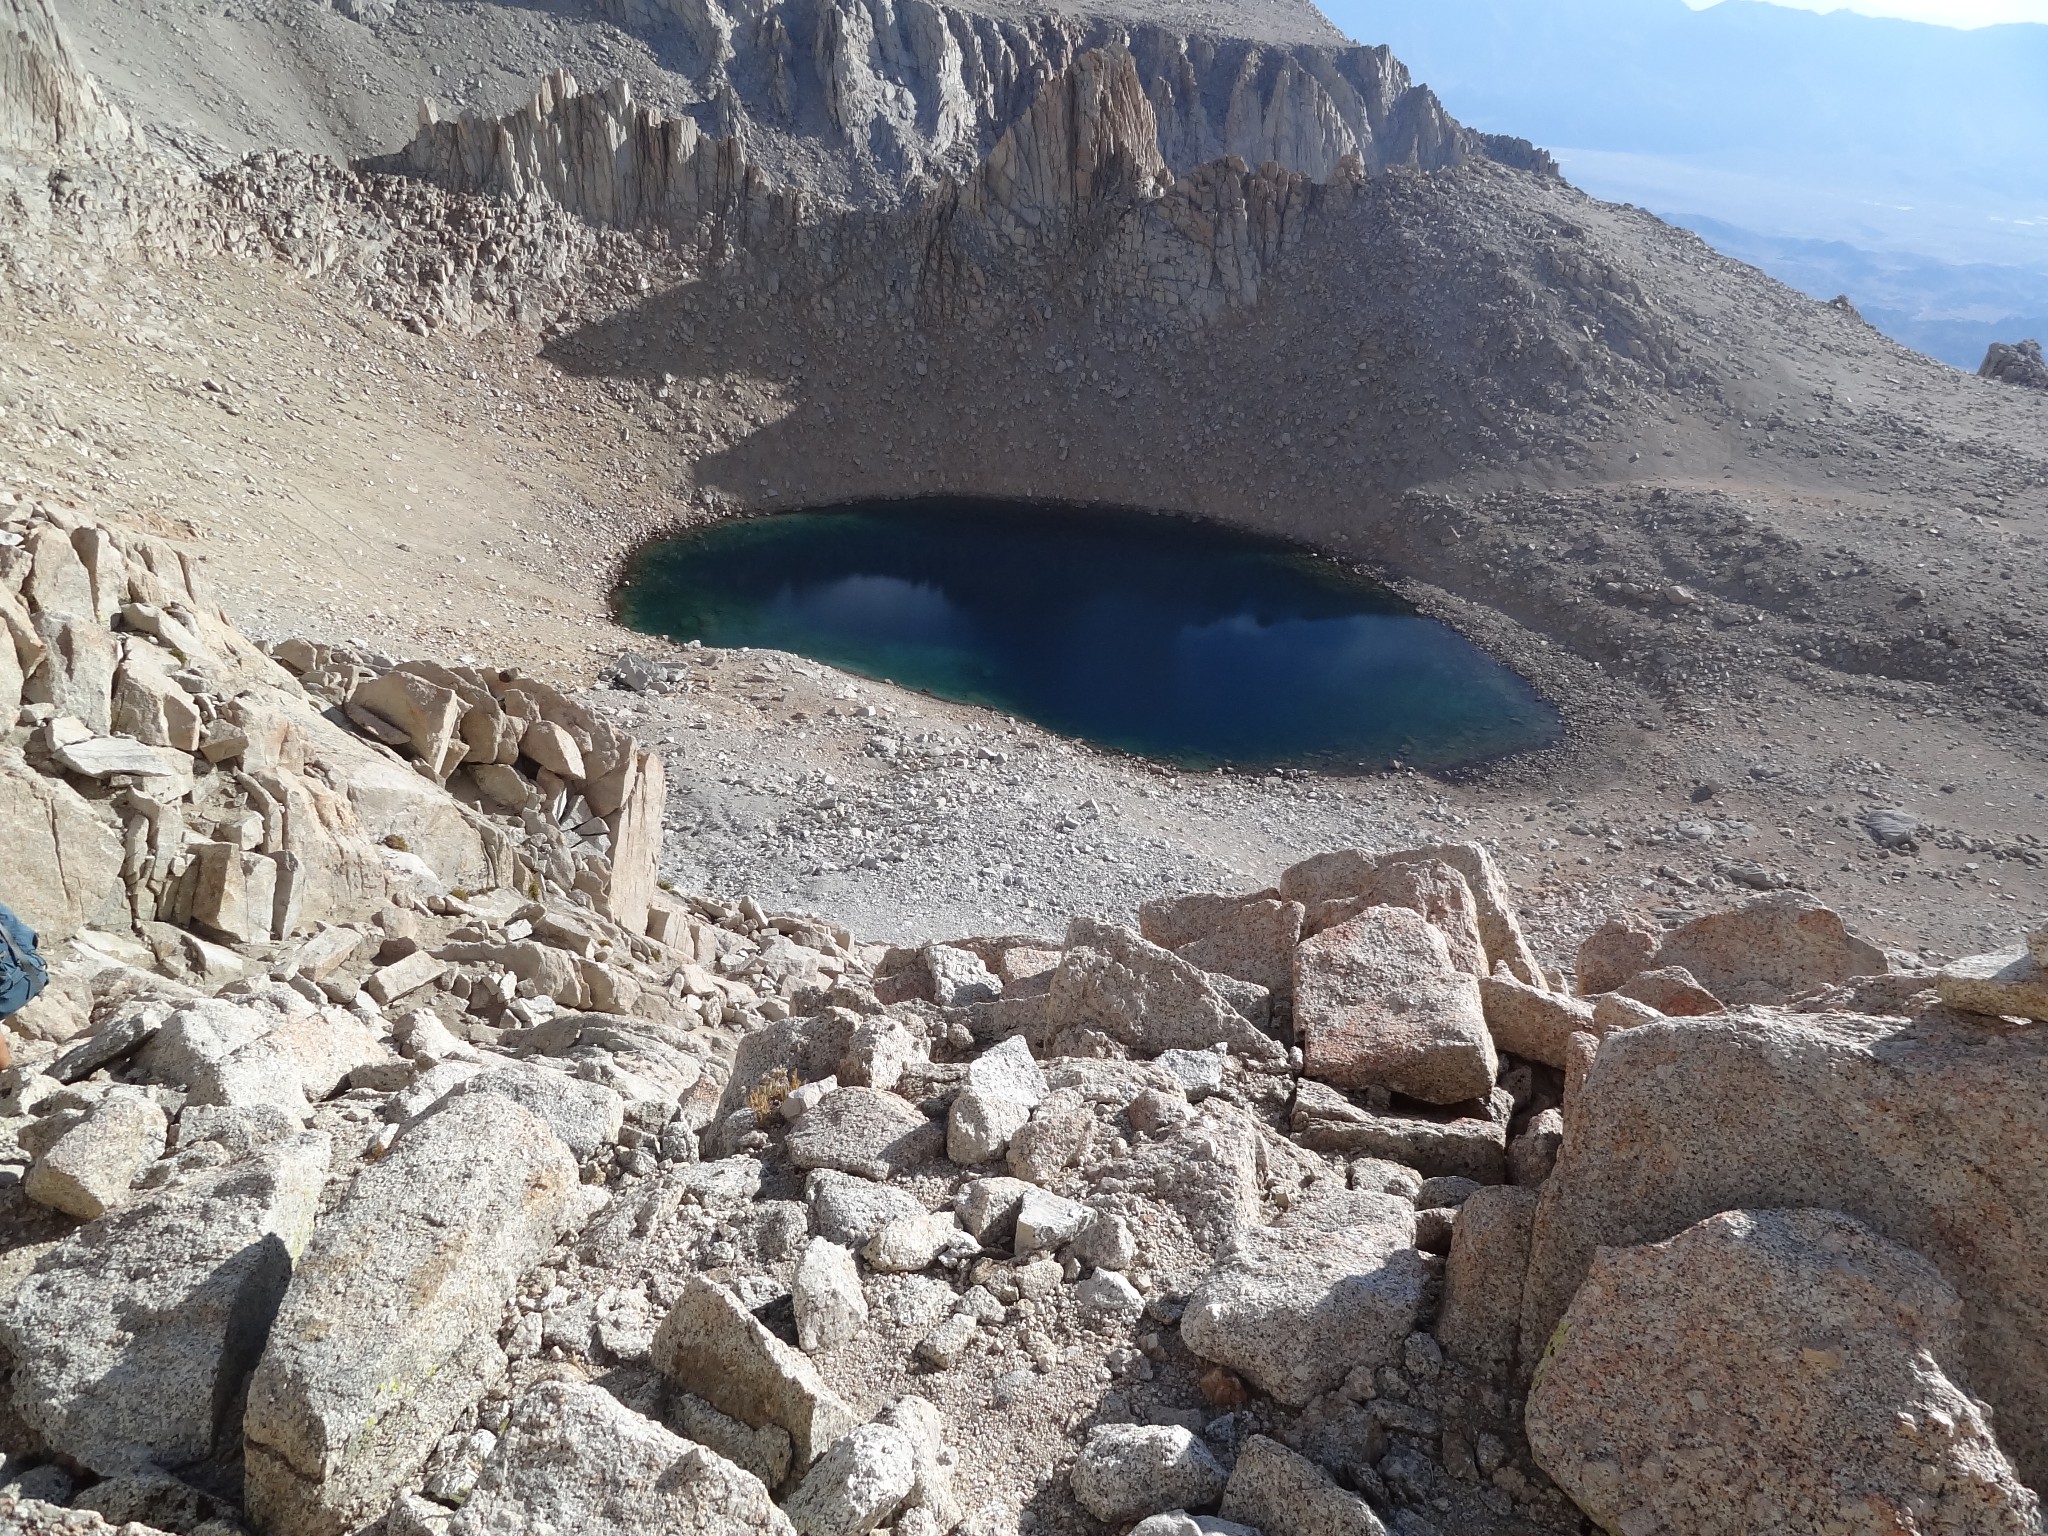
For the first part of the climb, it was heavy bouldering. My hands and legs got a bit chewed up from the coarse rock, but nothing terrible. Tim, Gabe, and I began to move a bit quicker than Michael and Esther at this point (John was guiding them), so Tim began pushing us at a quicker pace to attempt a summit climb as clouds were seen moving in. After a couple of hours of scrambling, we got to a rest point called “Piss Rock,” for obvious reasons. Took a short breather and then continued heading up. There was very little snow on the mountain, it was mostly gravel, so footing became an issue and moving quickly was apparent. It was definitely exhausting, maintaining such a solid pace. After what I believe was an hour or two more, we reached the “Notch.”
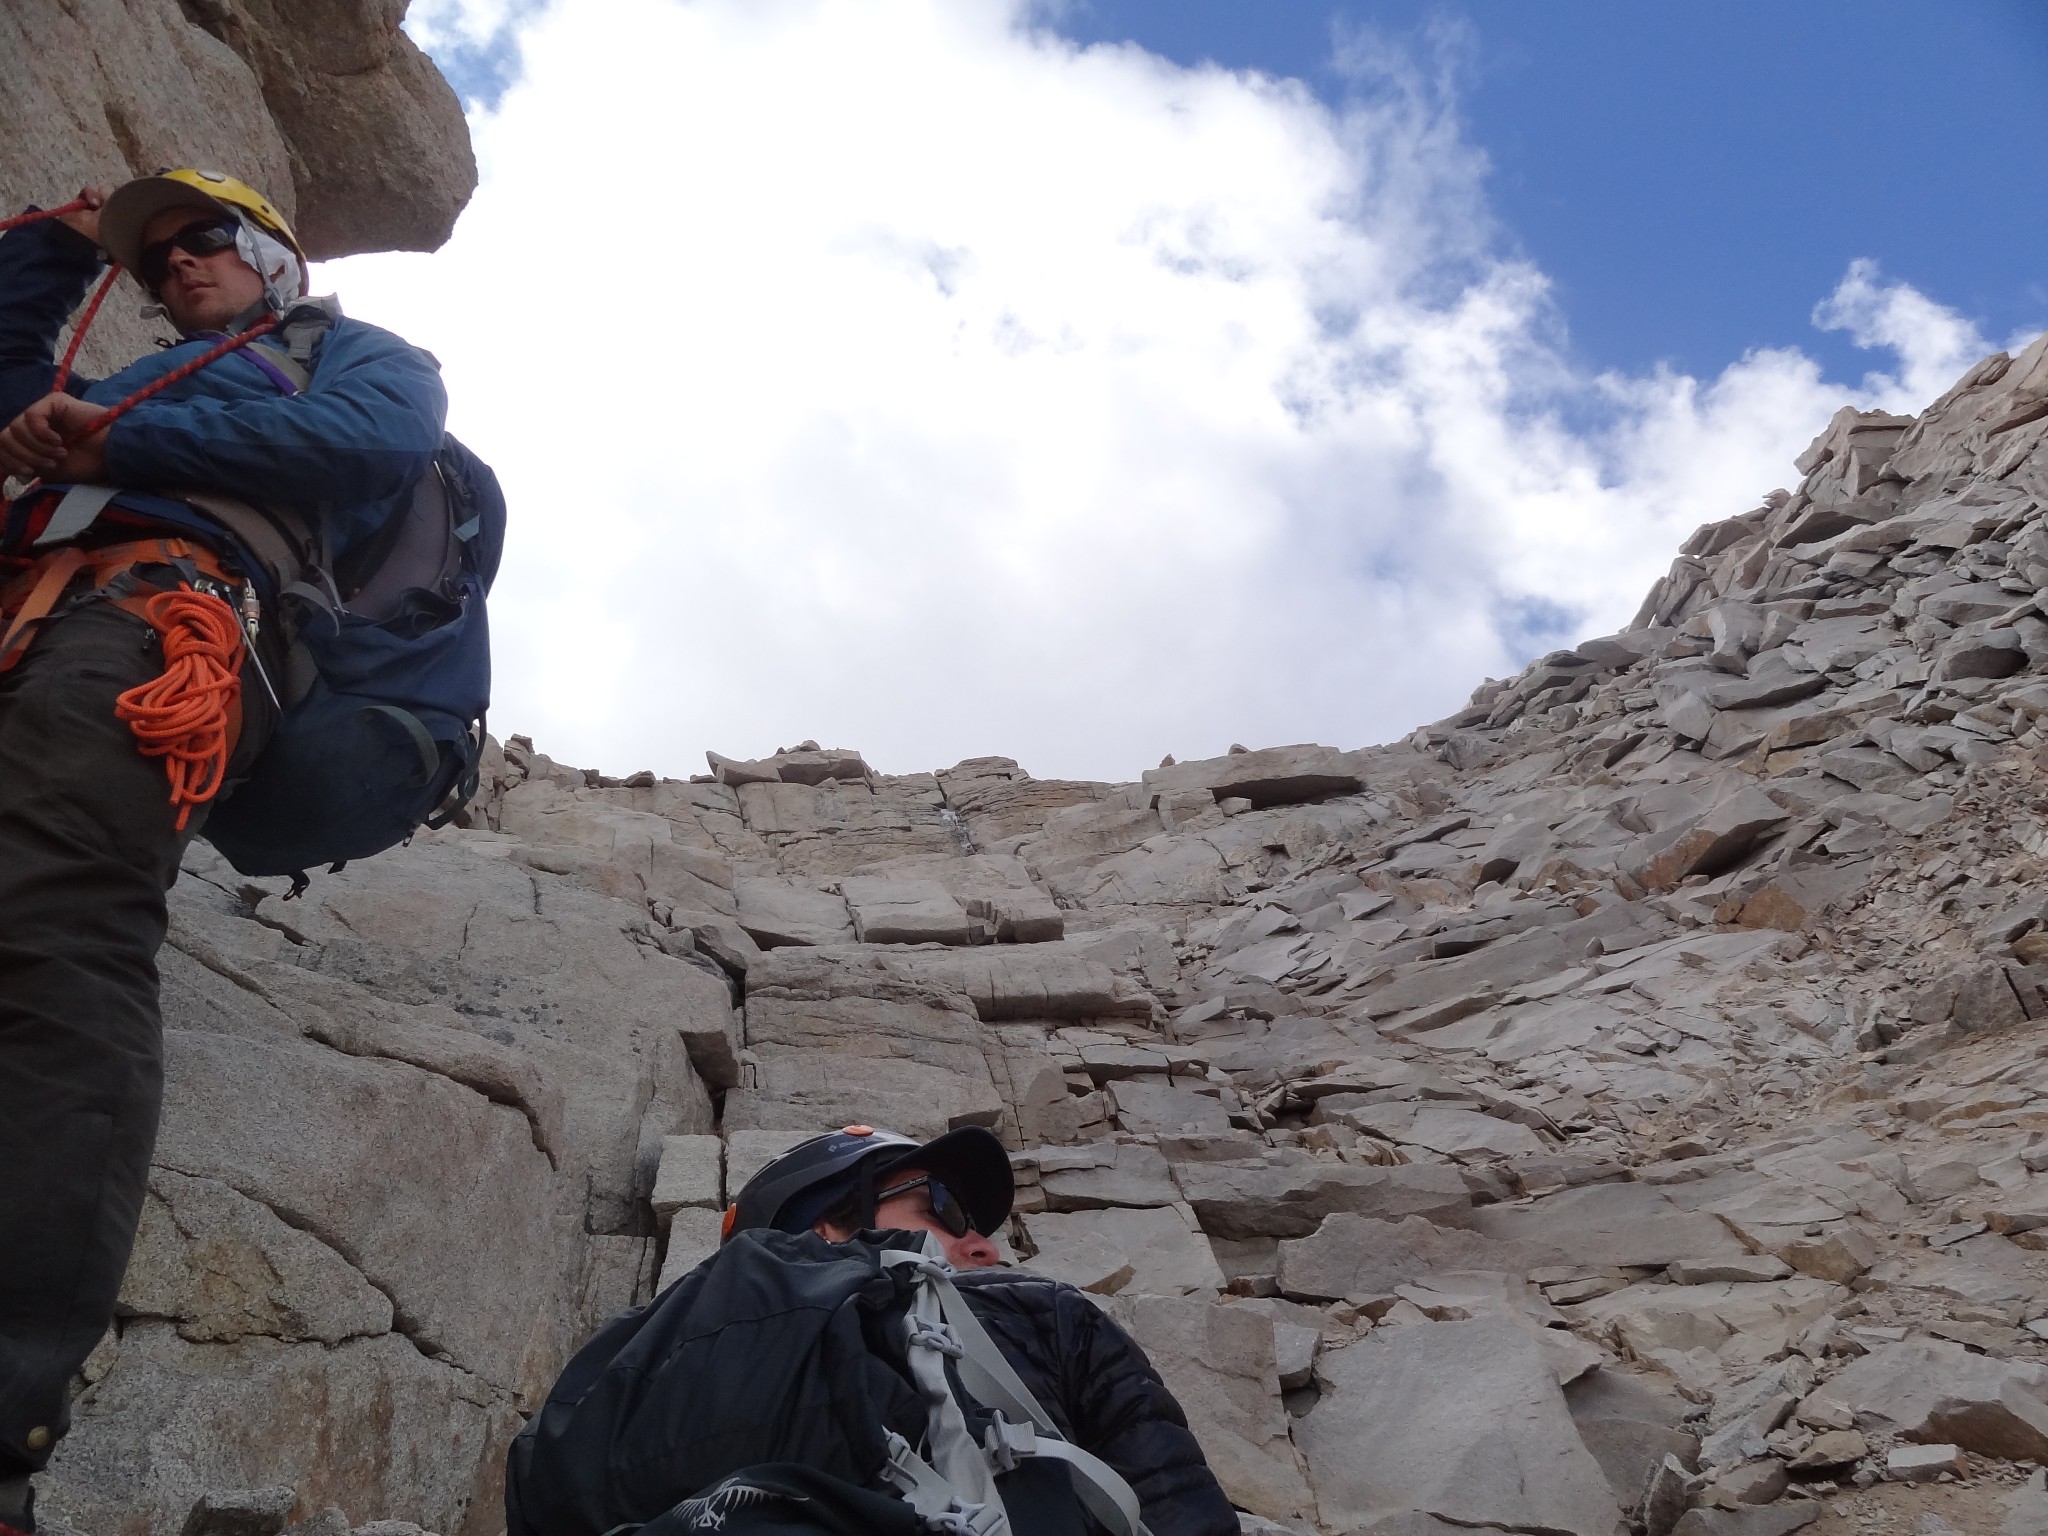
It was here that we made the true final climb to the summit of Mt. Whitney of about 500 feet. We again took a brief breather and had something to eat. First, you have to scramble up a brief precipice before getting to a spot where you mostly just climb up rocks. Tim first scrambled up and got some rope into place. Gabe and I then hooked up and scrambled up. Not terrible, we just had to move quickly. At this point, Tim would go on ahead, get the rope fixed for “on belay” and then we would follow. There were a few blind rocks where we had to pull ourselves up, but nothing like rock climbing a face. Tim was trying to getting us up there quickly as a cloud was moving in and he wanted to get us up and off the summit in order to avoid any chance of lightning strikes.
Well, we made it. We got a few minutes at the top. I remember the feeling of elation of reaching the summit. What a good feeling to achieve the summit. I wanted to run over to the house and sign the book, but Tim was obviously nervous at this point and wanted to get us down. I don’t blame him as he is charged with responsibility for us, “the clients.” So, down we went. Unfortunately, Esther and Michael didn’t get the chance to go for the summit as Tim called them off given the oncoming clouds.
I actually found the climb down from this point to be more difficult than the climb up as getting my footing was at times blind and uncertain. And as they say “49% is getting to the top.” At the scramble part, as I was trying to slowly ease myself down, I fell. Fortunately, I was on rope, so Tim caught me. It could have been quite ugly. Thank you, Tim.
From the Notch down, it wasn’t too bad. Footing really was the issue as we began the descent as the rock is quite loose in this section. Another few more hours and we were back at Iceberg Lake, with the most difficult portion of the climb past us. We took a nice break. At this point it was the afternoon, so we started out to Upper Boy Scout Lake to get back for dinner and rest. At this point, I began dragging a bit and not hiking as quickly. Nearer to Upper Boy Scout Lake there is a large amount of quartz rock.
Day Three - Back to Lone Pine
We woke up early to a beautiful sunrise over the Sierras, ate a nice hot breakfast of oatmeal, and headed down. We didn’t have to pack up the tents as a group was heading up that day to utilize them, which was a nice bonus. The hike down wasn’t too bad, I was just a bit worn out from the previous day, so my technique at times got bad, allowing my front knee to lock up. Not a good idea and an easy way to injure oneself especially with a 30-40 pound pack. The day was great and as we descended, it got progressively warmer.
Down at the Ebersbacher Ledges, I had a bit of moment of freak-out and began to get nervous, got myself a little stuck and uncomfortable on them. Made it through them, though, with some coaxing from John (thank god for John).
Unfortunately, I think my boots may have been too small and didn’t leave enough toe room, so I got a serious case of toe bang and lost a few toe nails to it. I really should have been wearing about a half size larger to give my toes so more room. Lesson learned.
Well, we got down to Portal, took a few photos and headed back to Lone Pine. We all ate a celebratory lunch at the Mt. Whitney Restaurant, enjoying a nice big burger and beer.
I was so worn out that I decided to stay the night in Lone Pine before heading to the coast for some surfing and relaxing on the beach.
Further Reading on Mt. Whitney

Here’s a link also to another great blog regarding hiking the Mountaineer’s Route of Mt. Whitney that I found helpful before I went: http://www.sierradescents.com/climbing/whitney/mountaineers-route.html